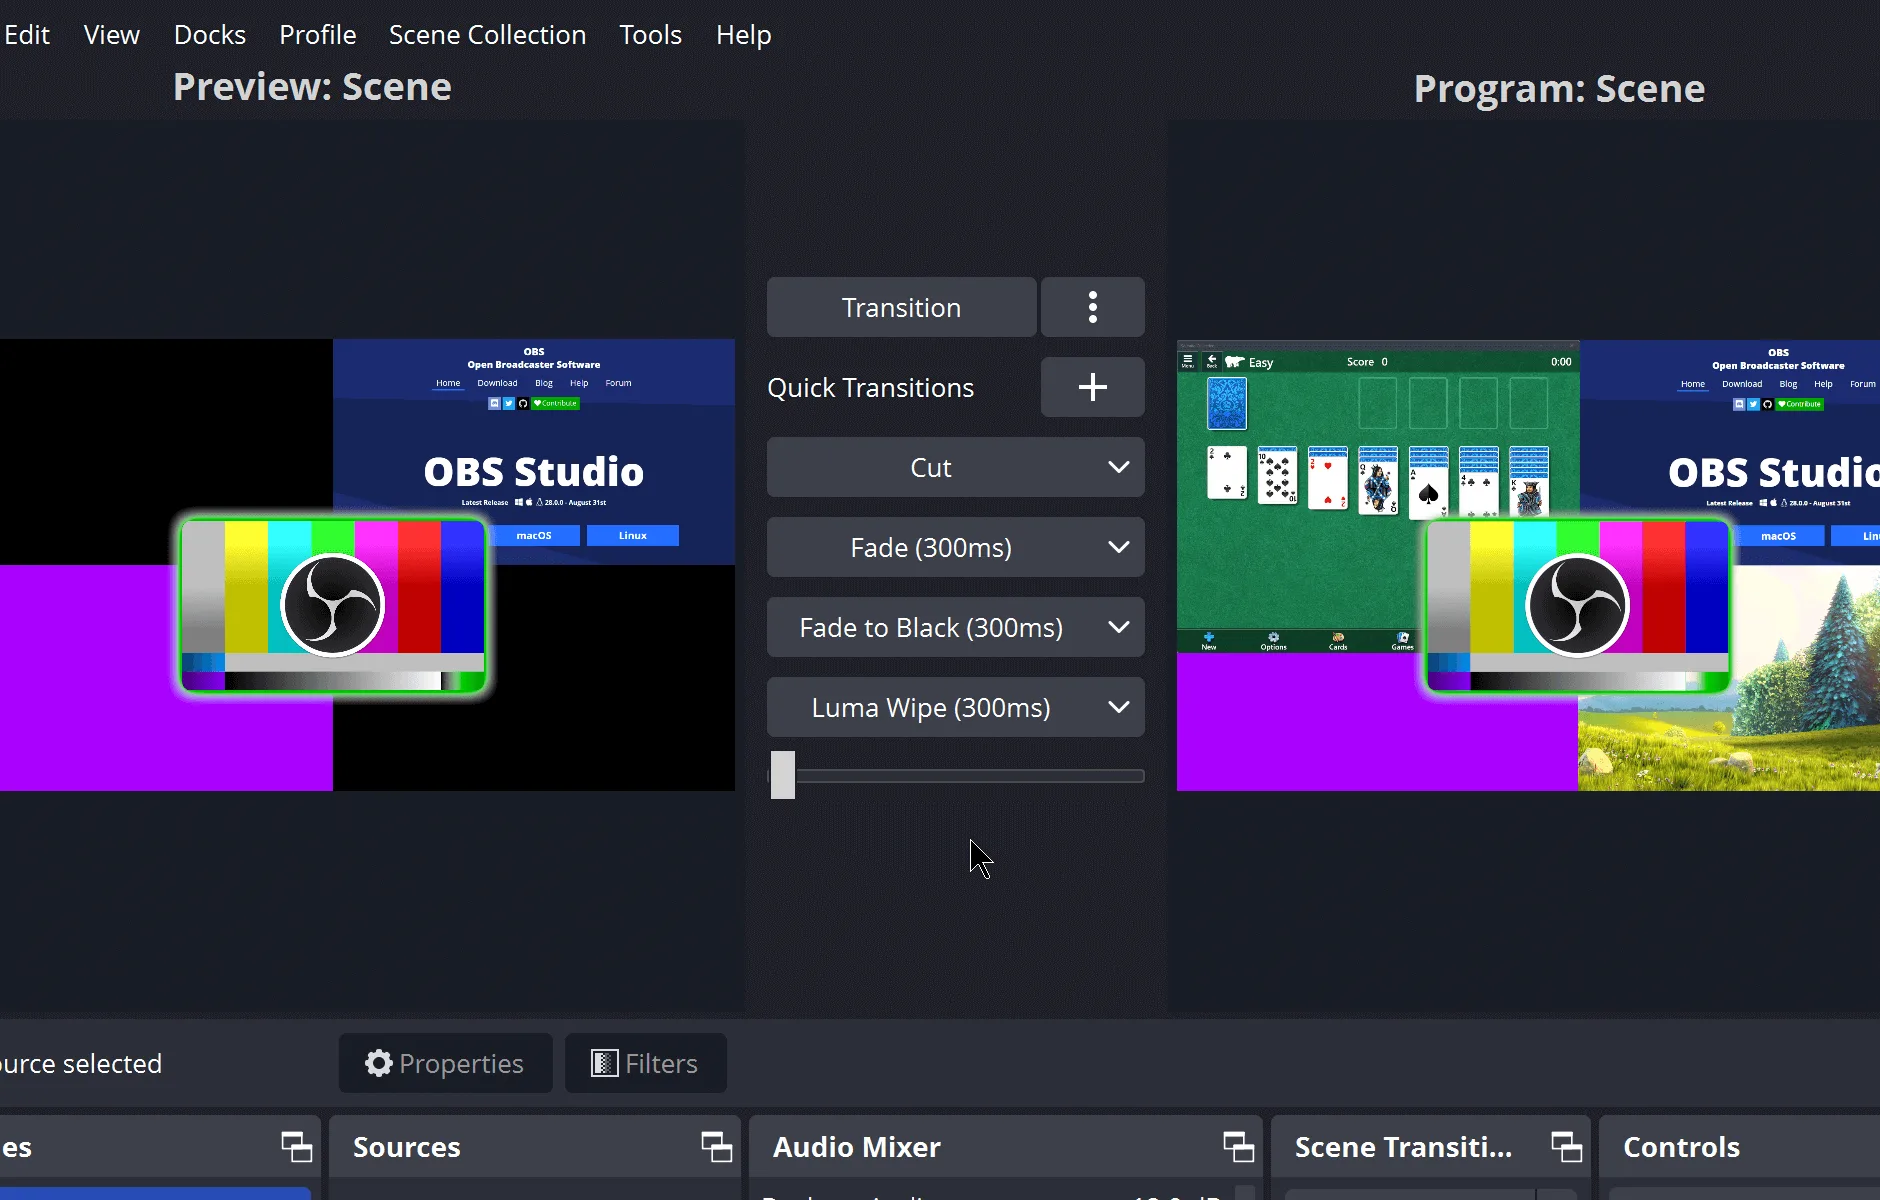
Local record in one pass
OBS Studio can write a video file of the active scene without going live. That is the path for tutorials, practice streams, and captures you will edit later. Scenes and recordings stay on the PC unless you upload them. Streaming is a separate output path with its own platform login.
Install on Windows x64 first:
winget install -e --id OBSProject.OBSStudioManual file: OBS-Studio-*-Windows-x64-Installer.exe from the current GitHub release. Related: Windows install, portable or setup.
Set the recording folder
Open Settings and open the Output section used for recording in the current release. Choose a disk with free space. Prefer a folder you can find later, such as a Videos subfolder, not a temp directory that cleanup tools wipe. Apply, then return to the main window. Machine map: for this computer.
Confirm the canvas resolution matches the content you care about. Recording a 4K display cropped poorly wastes disk. Start with 1080p-class canvases when you are learning.
Build a record-ready scene
Add Display Capture or Window Capture for the content. Add a Video Capture Device if you need a webcam inset. Check the mixer so desktop audio and mic are not clipping. Mute sources you do not want. A first scene walkthrough: first scene.
Do a five-second test recording before a long take. Stop, open the folder, and play the file in a normal player. If the file is missing, the path setting is wrong. If audio is silent, the mixer or Windows default device changed.
Encoder choices without guessing
Hardware encoders free the CPU when the GPU supports them. On NVIDIA systems, NVENC is the usual hardware path; check the current OBS Studio release notes on GitHub for the driver floor that release expects, rather than copying an old blog number. Details: NVENC guide. If hardware encode is unavailable, use the software x264 option and lower resolution or frame rate until the preview stays smooth.
Bitrate and quality presets trade size for clarity. For local archive, prefer quality over tiny files. For upload drafts, a smaller bitrate may be enough. Do not invent a universal bitrate table; match the job and the disk you have.
Start and stop cleanly
Select the scene. Click Start Recording. Perform the take. Click Stop Recording and wait for the file flush to finish before you quit OBS Studio. Open the recording folder and confirm duration and audio. If you also need the same layout in a meeting, start Virtual Camera separately: virtual camera.
Common mistakes
Recording to a full disk. Capturing the wrong monitor. Leaving a discarded source audible in the mixer. Running Game Bar and OBS Studio together so hotkeys fight. Using an unofficial installer. Stacking a portable zip beside a winget install. Leaving the recording path on an external drive that sleeps mid-take.
Move off Game Bar when Win+G is no longer the tool you want: off Game Bar. Compare other desktops only when you need the difference: vs Streamlabs, vs XSplit.
Trust and updates
Licence GPL-2.0. Fetch updates with the same door you used to install: winget upgrade -e --id OBSProject.OBSStudio or the current GitHub x64 installer. Safe sources: download safely. Issues: GitHub Issues.
Next steps
After the file lands
Name takes clearly so you can find them a week later. Keep a short note of canvas size and encoder when you deliver a file to someone else. If you re-record the same lesson, duplicate the scene instead of rebuilding sources from scratch. When disk space gets tight, move finished archives off the recording drive before the next long session. That habit keeps OBS Studio from failing mid-take on a full volume.
If you share the recording, export or upload from your editor of choice. OBS Studio already finished its job when Stop Recording completed. For live audience work, configure stream keys separately from local archive so a bad network cannot block a local take you still need on disk.
Frequently asked questions
Where are recordings saved?
In the folder you set under Settings, Output (or the current release recording path fields). Open that folder after Stop Recording. Related: for this computer. Match the Windows x64 installer or winget id OBSProject.OBSStudio against the current GitHub release before you change anything else.
Do I need an account to record?
No. Local recording stays on the PC. Streaming uses a platform login separately. Match the Windows x64 installer or winget id OBSProject.OBSStudio against the current GitHub release before you change anything else. Match the Windows x64 installer or winget id OBSProject.OBSStudio against the current GitHub release before you change anything else.
Which encoder should I pick?
Use a hardware encoder such as NVENC when your NVIDIA GPU supports it and drivers meet the current release notes. Otherwise use a software x264 path. Related: NVENC. Match the Windows x64 installer or winget id OBSProject.OBSStudio against the current GitHub release before you change anything else.
Can I record one window only?
Yes. Add a Window Capture or Display Capture source cropped to the region you need, then record that scene. Match the Windows x64 installer or winget id OBSProject.OBSStudio against the current GitHub release before you change anything else.
How do I install before recording?
Run winget install -e --id OBSProject.OBSStudio or the GitHub Windows x64 installer. Related: Windows install. Match the Windows x64 installer or winget id OBSProject.OBSStudio against the current GitHub release before you change anything else. Match the Windows x64 installer or winget id OBSProject.OBSStudio against the current GitHub release before you change anything else.